bruno sre-2010 installation manual

Welcome to the Bruno SRE-2010 installation manual, your comprehensive guide for installing the SRE-2010 stairlift. This manual ensures safe and correct installation, emphasizing compatibility and proper preparation. Read carefully to understand components, safety protocols, and registration requirements for optimal performance and warranty validity.
1.1 Overview of the Bruno SRE-2010 Stairlift
The Bruno SRE-2010 is a reliable and versatile stairlift designed to enhance mobility in residential settings. Available in both indoor and outdoor models, such as the SRE-2010E Outdoor Elite, it offers durability and weather-resistant features. This stairlift is known for its smooth operation, quiet performance, and ergonomic design, ensuring comfort for users. The SRE-2010 is compatible with various staircase configurations and includes safety features like secure seating and intuitive controls. Its compact design minimizes space intrusion, making it suitable for narrow staircases. Whether for indoor or outdoor use, the Bruno SRE-2010 provides a practical solution for individuals with mobility challenges, ensuring safe and easy access between floors.
1.2 Key Features and Components of the SRE-2010
The Bruno SRE-2010 stairlift features a robust design with a durable rail system and a comfortable, cushioned seat. It includes a joystick control for easy operation and a safety belt for added security. The stairlift is equipped with obstruction sensors to ensure smooth and safe movement. Key components include the motor unit, rail tracks, and carriage assembly. Additionally, the SRE-2010E model offers weather-resistant features for outdoor use. The stairlift also comes with a battery backup system, ensuring functionality during power outages. These components work together to provide a reliable and efficient mobility solution, tailored to meet various user needs and staircase configurations.

Pre-Installation Requirements and Preparation
Ensure your staircase meets compatibility standards for the Bruno SRE-2010. Gather all necessary tools and materials as listed in the manual to avoid delays. Verify the site is clear and accessible for a smooth installation process.
2.1 Checking the Site for Compatibility
Before installation, ensure the staircase is compatible with the Bruno SRE-2010. Measure the stair dimensions and check for any obstructions, such as handrails or skirting. Verify the staircase type (straight, curved, or outdoor) matches the stairlift model. Assess the weight capacity and ensure the stairlift is suitable for the user’s needs. Inspect the floor and wall structure to confirm they can support the rail system. Check for adequate power supply and ensure all local building codes are met. Proper site evaluation ensures a safe and efficient installation process, avoiding potential issues during operation.
2.2 Gathering Necessary Tools and Materials
To ensure a smooth installation, gather all required tools and materials beforehand. Essential items include a drill, screwdrivers, wrenches, and measuring tape. Additionally, collect fasteners, brackets, and power tools specified in the manual. Ensure you have safety gear like gloves and goggles. Verify the stairlift components are complete, including the rail, chair, and motor. Check for additional materials like lubricants and connectors. Having everything prepared avoids delays and ensures compliance with safety standards. Always refer to the installation manual for specific requirements and recommendations tailored to the Bruno SRE-2010 model.
Step-by-Step Installation Process
Begin by assembling stairlift components according to the manual. Mount the rail securely to the stairs, ensuring proper alignment. Install the chair and attach it to the rail system. Connect electrical components carefully, following wiring diagrams. Test the stairlift to ensure smooth operation. Always adhere to safety guidelines and manufacturer instructions for a successful installation. Proper installation ensures reliability and user safety, meeting Bruno’s quality standards.
3.1 Assembling the Stairlift Components
Begin by carefully unpacking and organizing all components. Refer to the exploded diagrams in the manual for clarity. Start with the rail system, ensuring all brackets and screws are properly aligned. Next, assemble the chair unit, attaching the seat, armrests, and footrest according to the instructions. Lubricate moving parts as specified to ensure smooth operation. Use the provided hardware to secure components tightly. Double-check all connections for stability and alignment. Once assembled, perform a visual inspection to confirm everything is correctly fitted. Proper assembly is critical for safety and functionality, so follow the manual’s step-by-step guidance meticulously.
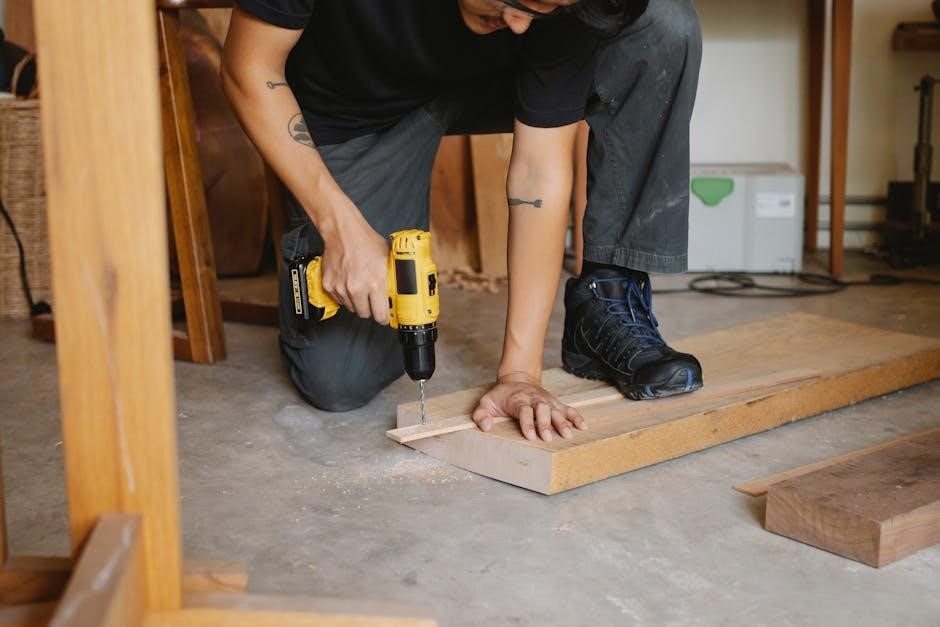
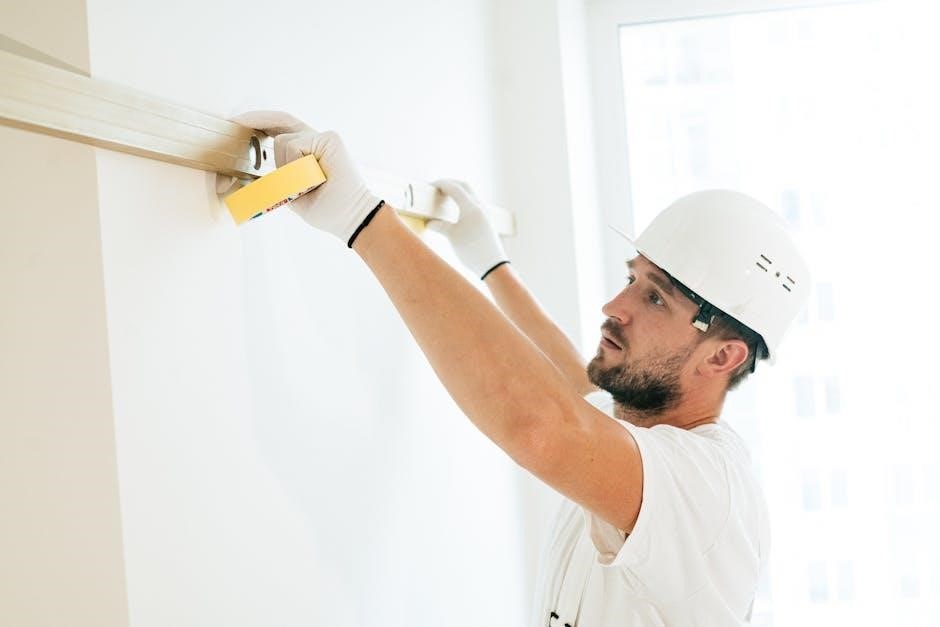
3.2 Mounting the Rail and Chair
Mounting the rail and chair requires precision and adherence to safety guidelines. Begin by positioning the rail along the staircase, ensuring it is level and properly aligned with the stairs. Secure the rail brackets to the stair treads or stringers using the provided hardware, following the torque specifications in the manual. Once the rail is firmly in place, attach the chair unit to the rail, making sure it is securely fastened. Verify that the chair moves smoothly along the rail without any obstructions. Tighten all bolts and screws as instructed to ensure stability. Finally, inspect the installation to confirm everything is correctly mounted and ready for electrical connections.
3;3 Wiring and Electrical Connections
Wiring and electrical connections are critical for the stairlift’s operation. Begin by disconnecting the power supply before starting any work. Follow the manufacturer’s instructions to connect the motor, control panel, and sensors. Ensure all wires are securely fastened and routed away from moving parts. Test the system to confirm proper function and check for any short circuits. Refer to the troubleshooting guide in the manual if issues arise. Always use the recommended voltage and avoid overloading circuits. After completing the connections, reconnect the power and perform a final test to ensure smooth operation. Proper wiring ensures safety and reliability of the Bruno SRE-2010 stairlift.
Safety Features and Precautions
The Bruno SRE-2010 installation requires strict adherence to safety guidelines. Always wear protective gear and ensure the area is clear of obstacles. Follow manual instructions to prevent accidents and ensure smooth operation.
4.1 Safety Guidelines During Installation
Adhering to safety guidelines during the installation of the Bruno SRE-2010 is crucial to ensure a secure and efficient process. Always wear protective gear, including gloves and safety glasses, to prevent injuries. Ensure the work area is clear of obstacles and well-lit to avoid tripping hazards. Before starting, disconnect power sources to prevent electrical shocks. Use appropriate tools and follow the manual’s instructions precisely. Never attempt to install the stairlift alone; have a trained professional or assistant present. Regularly inspect components for damage or wear, and avoid overloading the system. Compliance with these guidelines ensures compliance with safety standards and prevents potential risks.
4.2 Testing the Stairlift After Installation
After completing the installation, thoroughly test the Bruno SRE-2010 stairlift to ensure all functions operate correctly. Start by powering on the system and checking smooth movement along the rail. Test the chair’s up/down and swivel functions, ensuring they respond to controls. Verify safety features, such as emergency stops and obstruction sensors, to confirm they activate properly. Perform a load test by operating the stairlift with the maximum recommended weight. Inspect the rail and chair for any wobbling or misalignment. Finally, review the troubleshooting guide in the manual to address any issues promptly. Proper testing ensures user safety and optimal performance.

Post-Installation Checks and Maintenance
Regularly inspect the Bruno SRE-2010 stairlift after installation, ensuring all components function properly. Lubricate moving parts and check for wear or damage. Schedule annual professional inspections to maintain safety and efficiency, adhering to the manual’s guidelines for optimal performance and longevity.
5.1 Routine Maintenance Tips
Regular maintenance ensures the Bruno SRE-2010 operates smoothly and safely. Clean the track and chair regularly to prevent debris buildup. Lubricate moving parts as specified in the manual to reduce wear. Inspect the rail for damage or misalignment and tighten any loose fasteners. For the SRE-2010E outdoor model, check the battery charge and connections. Test the stairlift periodically to ensure all functions work correctly. Keep the area around the stairlift clear of obstructions. Refer to the troubleshooting guide for addressing minor issues promptly. Schedule annual professional inspections to maintain warranty validity and ensure optimal performance. Follow the manual for detailed maintenance procedures.
5.2 Troubleshooting Common Issues
Identify and resolve common issues with the Bruno SRE-2010 stairlift using the troubleshooting guide. Power issues? Check the circuit breaker or fuse. If the stairlift stops mid-operation, ensure the rail is clear of obstructions. Charging problems? Verify connections to the battery and charger. For outdoor models like the SRE-2010E, inspect the battery terminals for corrosion. Unexpected stops? Restart the system or check for blockages. Control issues? Ensure the rocker switch is functioning correctly. Refer to the manual for detailed diagnostic steps. If issues persist, contact an authorized Bruno dealer for professional assistance. Regular checks can prevent many common problems.